
Today we bring you a fantastic video to help you learn how to attach a neckband.
You can watch our video here
Attaching a neckband when sewing is a really useful skill for any beginner because anything that needs a top half finishing such as dresses or t shirts or jumpers are all going to need neck bands unless you stick to hoodies for the rest of your life.
In the video, Nichola puts a neckband on the MBJM Explorer Raglan made from our Cotton Jersey Paint Splash and Candy Pink Cotton Jersey
As Nichola explains, you can either use Cotton Jersey or Ribbing for the neckbands, both have excellent stretch and return which is key when creating neckbands.
Caboodle recommends ribbing for beginners as it’s a lot more forgiving and you will find it easier to get the finish you want.
Remember, if you buy four items, so four half meters of any ribbing, or more, you’ll start to get multi buy discount, the more you buy, the cheaper it gets. There’s also a discount, specifically for first time buyers who are members of the MBJM sewing group on Facebook. (This coupon is not valid in conjunction with multi buy discount categories).
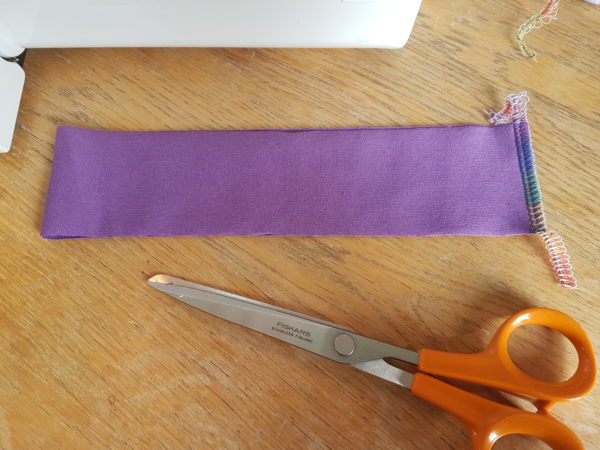
Cut your neckband to the dimensions it says in your pattern and sew together in a ring with right sides facing
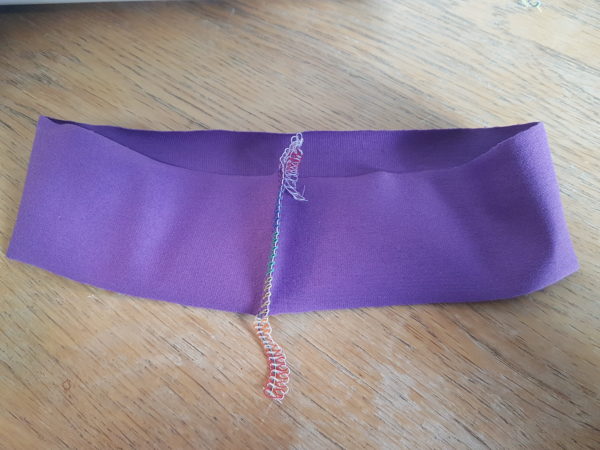
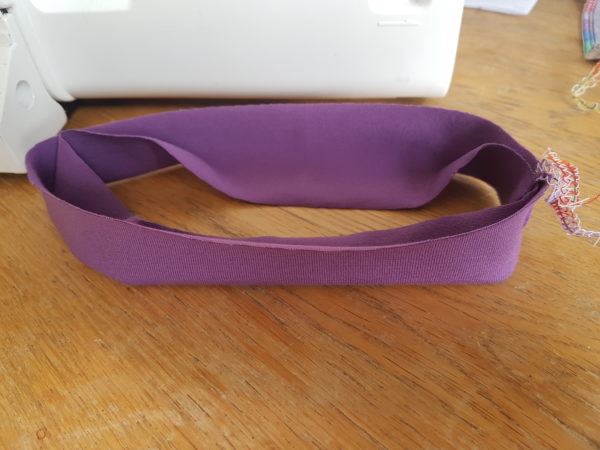
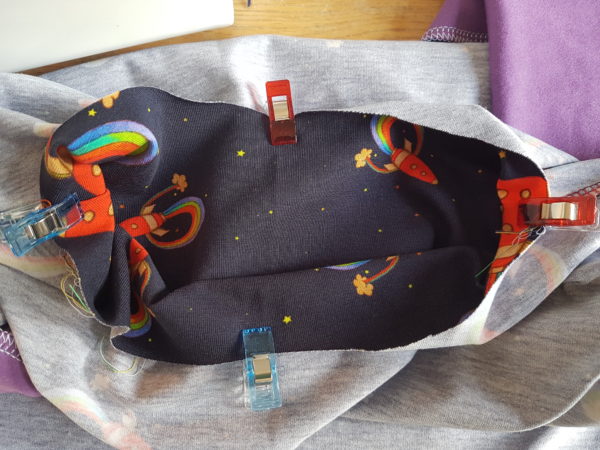
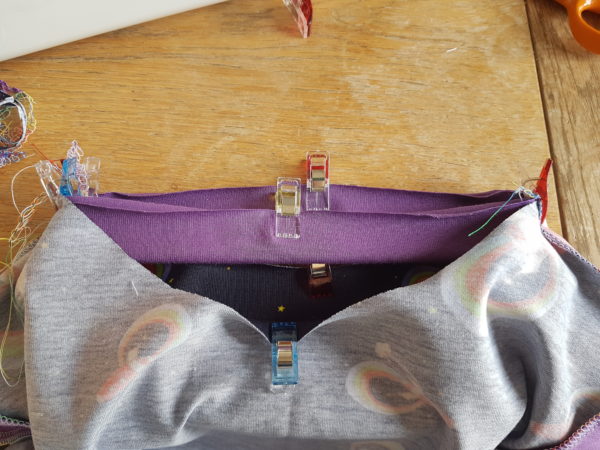
Once the neck band is in a ring, open it out and folded it wrong sides together in half, so you’ve got a ring, that’s now half thickness. You’ve basically reduced the height of your neckband and hidden the seam you’ve just sewn.
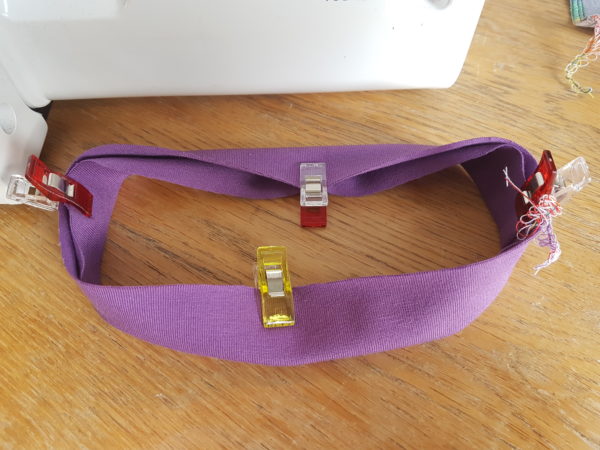
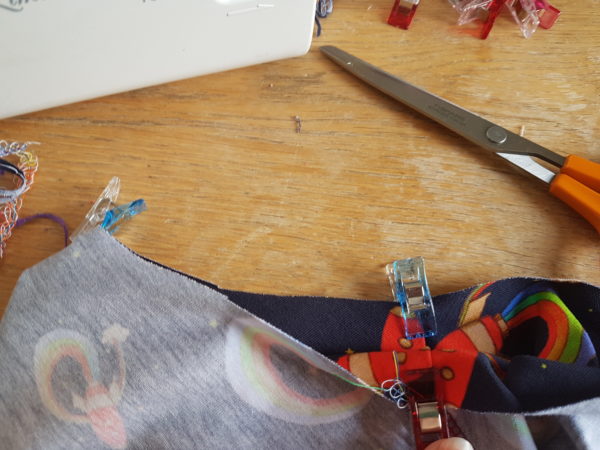
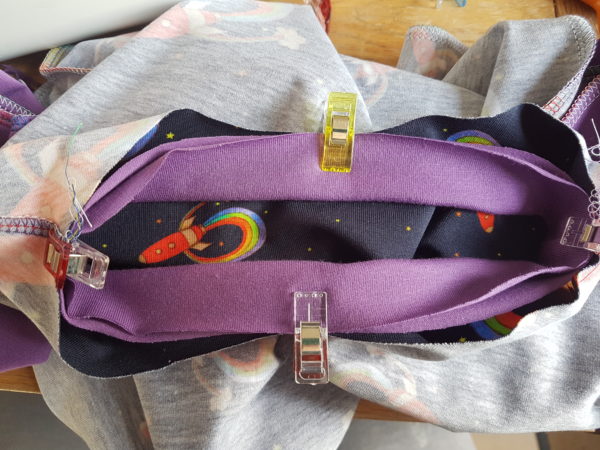
Now you’re going to divide your neckline into four equal parts. We use wonder clips to do this as they’re easier to control than pins and you don’t end up poking yourself a hundred times!
Pop a clip at the seam, then fold in half and pop a clip exactly opposite. Then bring the clips together so they’re touching each other than at each end put another clip. Make sure the clips are on the raw edges – you can press if you want to add a bit more security.
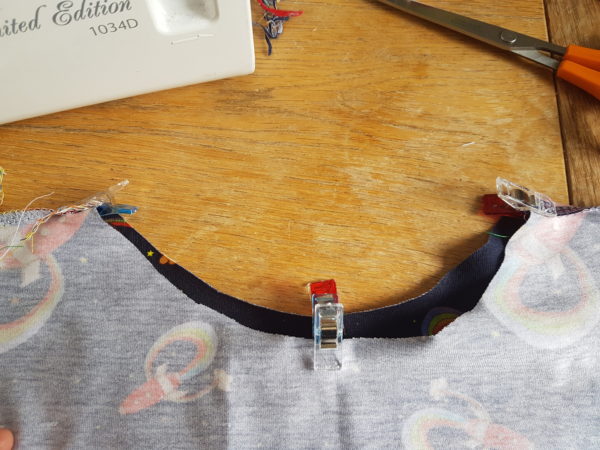
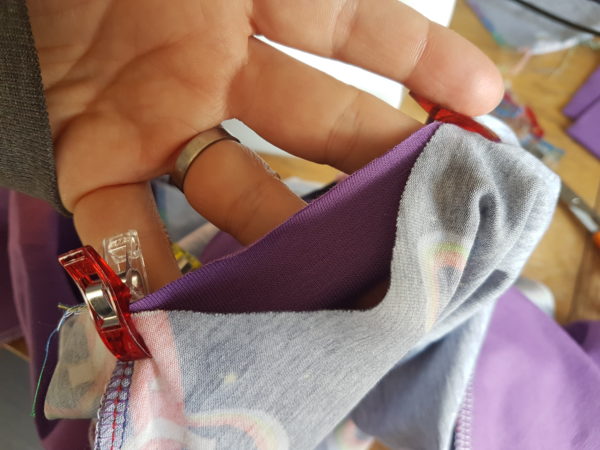
Next you take your item – and the thing to remember with a t-shirt is that the back and the front are not equal.
For the placement of the seam on your garment, the easiest way as a beginner is to put the seam in the centre of the back – but it doesn’t matter because you’re the only one who will notice.
To find the four equal points of your garment, place the seam of your necklines and the sleeves meet each other. And that’s going to tell you where it’s diagonally opposite. Be really careful about making sure the garment is split into four equal parts as it will cause problems with the distribution of the stretch further in the tutorial. The reason you’re doing it like this is because you want that band to stretch evenly throughout all of the fabric. If you don’t do it like this, you will end up stretching one part more than the other. And that’s when it will start looking wonky, you’ll run out of neckband or it won’t lay flat.
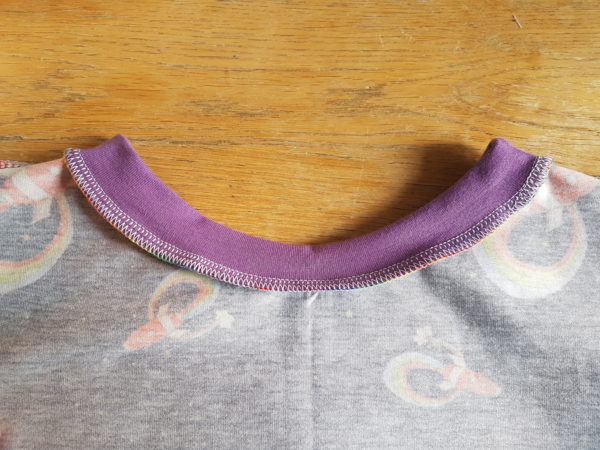
This top shown here has the same neckline front and back as the child wearing the finished product likes to be able to wear it both ways around without worrying about the front and back. When doing this we cut between the back and front height lines to keep the neck opening the correct size.
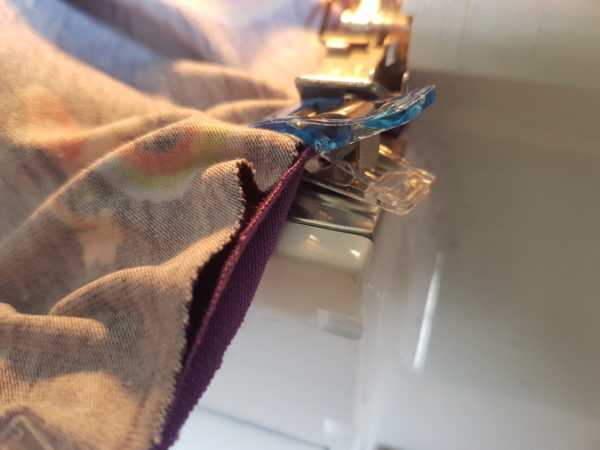
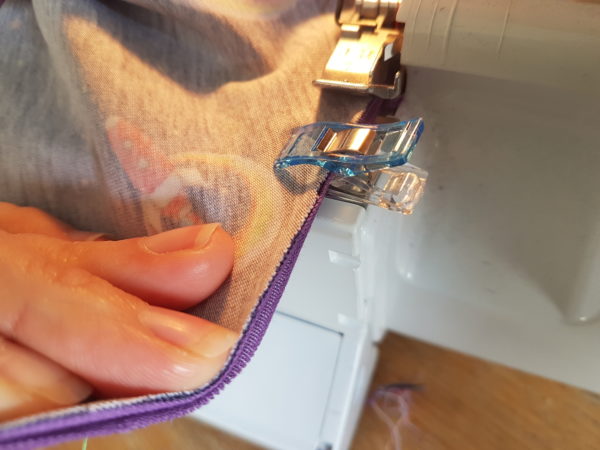
Now you need to match up the clips on your neckline with the clips on your garment, making sure the raw edges match. Combine all layers under one clip.
You can see the difference in size between the neck band and the main fabric here as the main fabric bags outwards when clipped.
When you’re a beginner, we suggest dividing it into eight and doing it that way just again so that you get a really even finish.
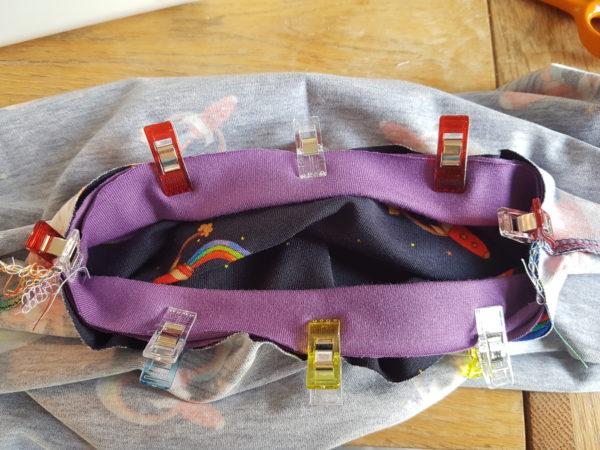
You can see the extra fabric is even between each clip.
Now you have your neckline pinned, you’ll see that the neckline is much shorter than the garment so as you are sewing you will want to stretch the neckband but not the garment – this is absolutely crucial otherwise you will overstretch the neckline and end up with a wobbly circle that wont sit flat.
You can sew your neckband on an overlocker or a sewing machine – use an overcast stitch, triple stretch or zig zag.
Practise on scraps first to ensure you’re completely comfortable before sewing for the first time on your garment.
It’s really important that you put the neckline part that you want to stretch on the underneath and the garment on top.
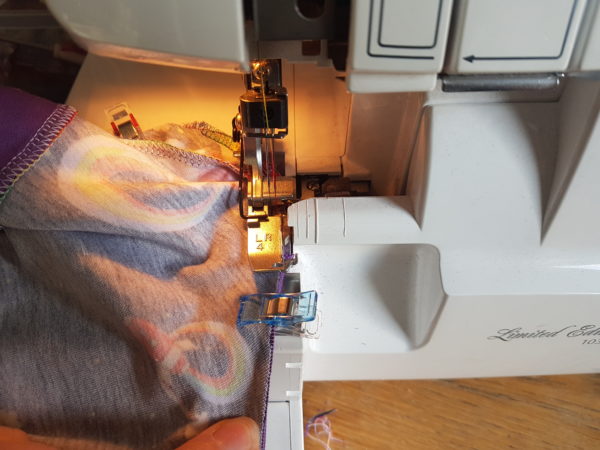
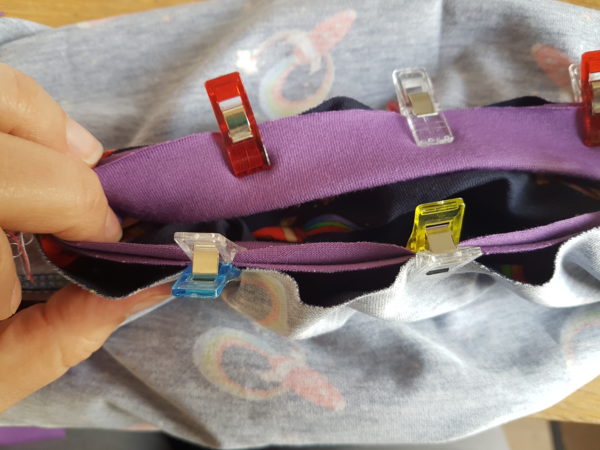
You can see the extra fabric is gathered on the sewers side of the clip.
This is then stretched out as the sewer prepares to remove the clip and feed in the next section.
Ensure your needle is fully down and in when stretching the next step or you can bend or snap your needle, pull on the ribbing or jersey, which is the bit that’s allowed to stretch. And you know how far to pull by the amount that the ribbing needs to stretch between where you’ve started, and the next clip.
Stretch the ribbing, and then just rest the garment on to the top so all the layers rest together. Put your finger in the place of the clip so it holds the stretched ribbing and the garment together. As you’re sewing and the feed dogs bring the material through, you’re going to keep those two points together where the neckline is stretched, but the garment isn’t.
And as that goes under the foot, you’re then going to do the next bit of fabric again use your bottom hand your right hand to stretch the ribbing, while the left hand or the top hand stabilises the jersey and keeps the two in the right place.
Keep going until you reach back to where you began and finish the seam.
Once you’ve finished, press the neckline to help any lines or puckers. You can top stitch your neckline if you wish to make the inside seam lay flat. This is personal preference. Sometime people choose to just topstitch between the back seams so the inside stitching lays flat for photographing the item. For really professional finishes you can apply binding to hide the back seam. We will cover that in another blog. Its not needed for most makers.
Remember, perseverance and practise makes perfect!
Don’t forget to share your neckbands (and other sewing!) in our Facebook group.
Happy Sewing